

You will need for each Quilt
10 Plain charms
8 Patterned charms in 2 different patterns
30x30" square of patterned or plain fabric in a coordinating colour
19x27" piece of wadding
Coordinating threads
For the backing
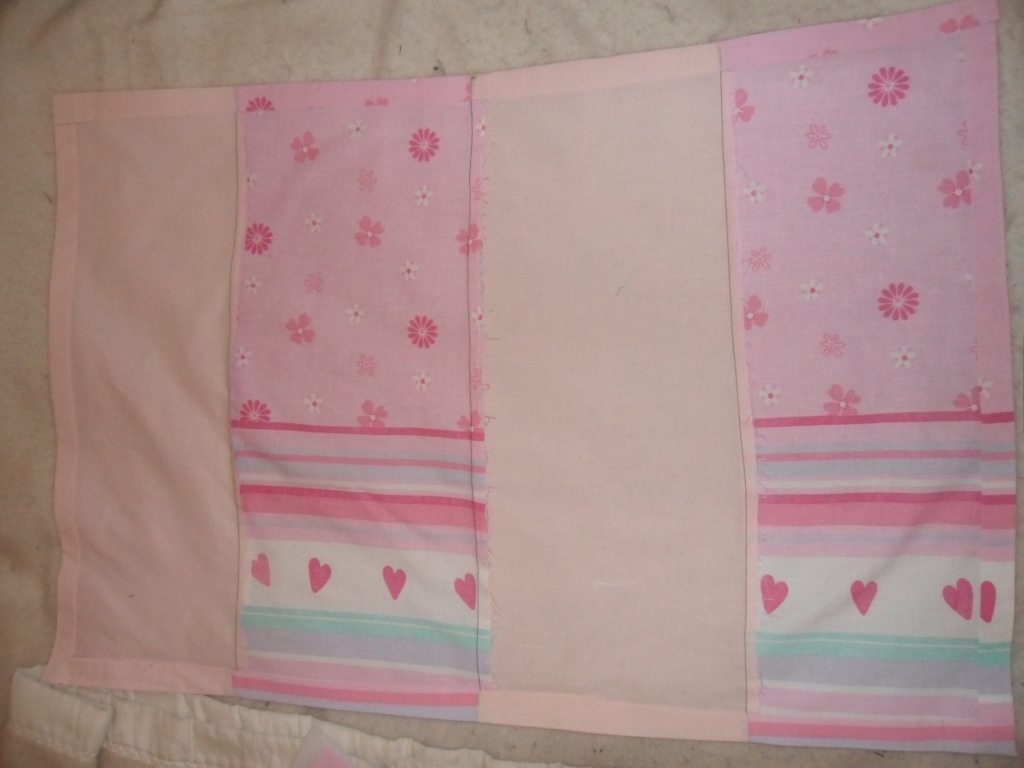
3 22x6" rectangles of fabric in a light coordinating colour
2 22x6" rectangles of fabric in a dark coordinating colour
or
2 8 1/2x 22" rectangles in a light coordinating colour
2 8 1/2x22" rectangles in a dark coordinating colour
All seams will be 1/4". The finished quilt should measure 19x27"


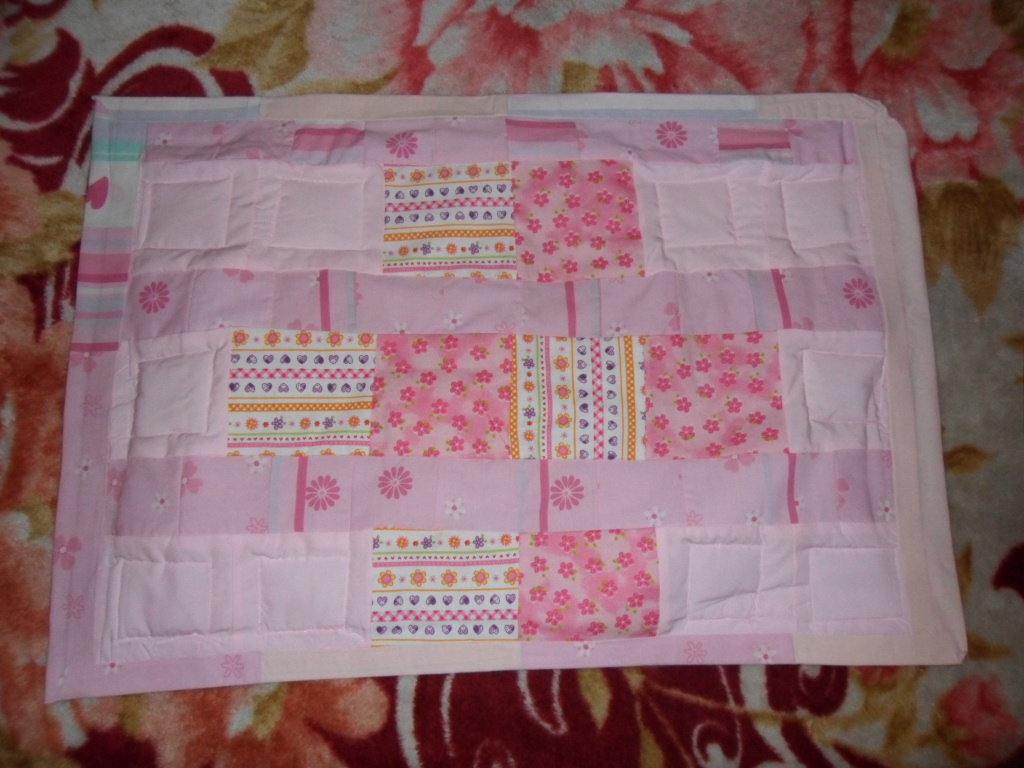
- Cut 30 3" squares from your 30x30" square.
- Lay your squares out in rows. For the first row 2 plain charms, 2 patterned charms, 2 plain charms.
- For the 2nd row 10 3" squares
- For the 3rd row 1 plain charm, 4 patterned charms, 1 plain charm
- for the forth row another set of 10 3" squares
- For the fifth row do the same as the first row. Finishing with a row of 3" squares for the last row


Keeping your rows in order chain stitch the squares together then clip the threads to separate the pieces. Press your seams open.


Lay them back out in the design and proceed to stitch the pairs together again chain stitching. So you end up with four squares together. You should have a pair left of 3" squares, sew this to a four.


Sew the four squares together to make a row of 8. You should end up with 3. The sew the 3" squares together to make a row of 10.
Lay back out your design then stitch the rows together in order. One row of charms to one row of 3" pieces, until all your rows are sewn together.

Iron the quilt top and place on top of the wadding. I quilted the girl quilt before adding on the backing. Quilt in any pattern you like. I went with straight lines and stitching in the ditch


The boy quilt with the backing attached and the binding stitched already.
 |
| As I didn't quilt right to the ends of my fabric I had to add on an extra strip down the sides of the backing |
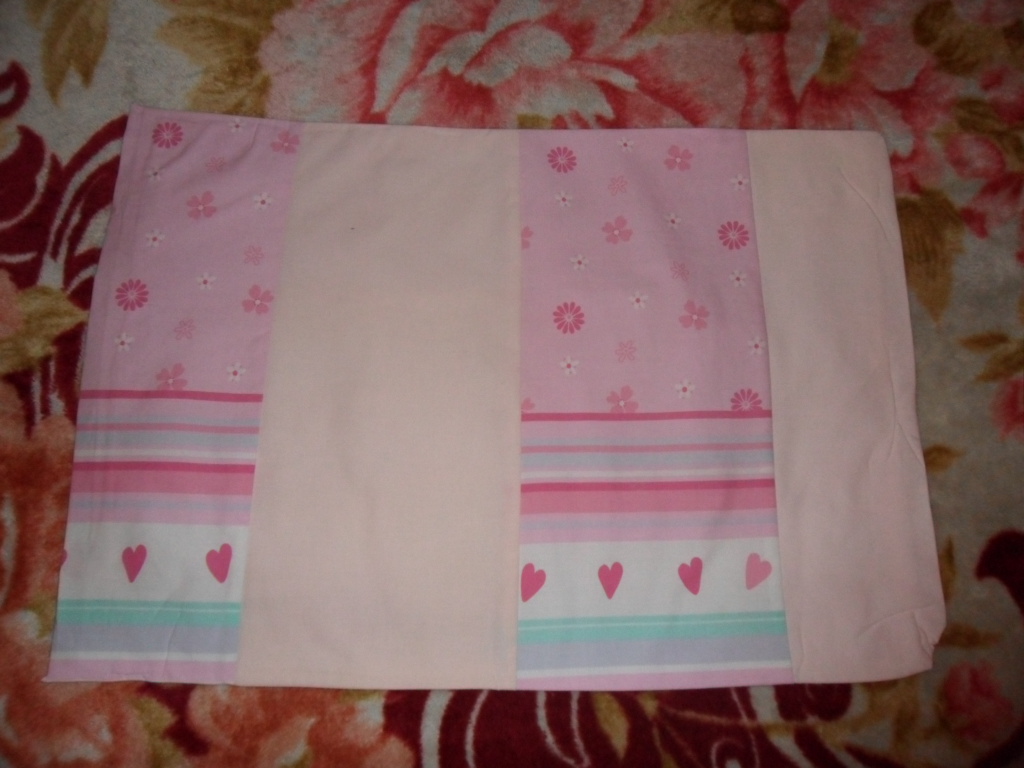
Lay your rectangles out light dark light dark-light and sew the strips together.
Fold over the raw edges by 1cm then again and iron to make a hem. Place your wadding, then quilt top onto this and fold the edges over to the front of the quilt. Pin, cut overlapping corners as in the diagram and hand stitch together.

You can wash your quilts at this point to get that wrinkly effect or leave them as they are for the moment. There you are two finished quilts =D
If there is any confusion in any of the steps please let me know and I will fix the problem
If you decide you want to make your next baby quilt like this I would love to see a picture =D
This is such a great detailed guide. Thank you Cherie! I'm glad you linked up at MRL so I could check it out. ;)
ReplyDelete